Thursday 9 March 2017
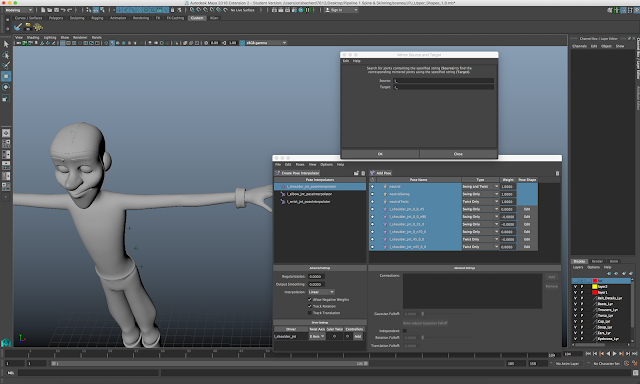
Maya Pipeline 1: Spine & Skinning - Adding Pose Space Deformers (Corrective Blend Shapes) Upper Body
The next tutorial in this set is corrective blend shapes to fix any mistakes such as deformation, collapsing, or loss of volume in the model after painting the weights initially. Unfortunately I struggled to make any progress with these tutorials at first because for some reason Maya on my laptop still seems to do odd things despite it being the correct version. However, I managed to get it working on my other computer so I was able to complete the tutorial. I think there is still room for improvement, but overall I think it's come out alright but I may return to it for some tweaking after I do the lower body. I found that the wrist took the the most amount of time due to the piece of fabric.
Subscribe to:
Post Comments (Atom)


No comments:
Post a Comment